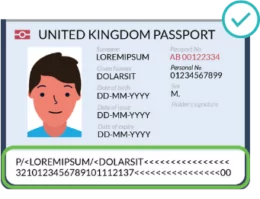
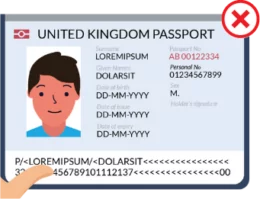
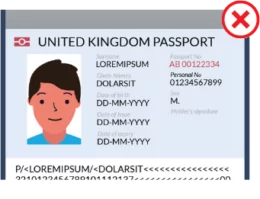
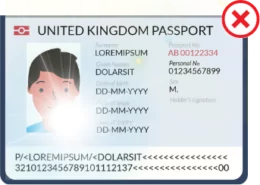
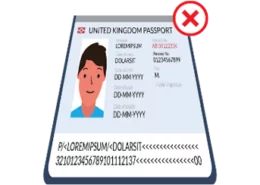
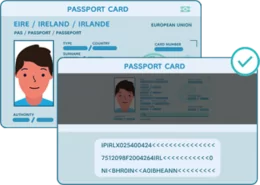
Capture a clear image of the Machine Readable Zone (MRZ) and whole data page
The Machine Readable Zone (MRZ) is the 2 lines of code at the bottom of the data page, made up of letters, numbers and chevrons. The MRZ contains security check digits. Your image needs to clearly include the whole of the MRZ and all information on the data page, including your photograph, in order for the TrustID service to validate it.